The First Cane Rod: Paul Young Perfectionist 7' 6" 4/5 wt rod.
| Rod
Building Entry Dates |
Links to Rod Building Information | Guide Spacing |
| Bamboo Fly
Rod Tapers |
| July 15, 2002 | November 26, 2002 | December 4, 2002 |
| December 8, 2002 | December 13, 2002 | December 29, 2002 |
| January 5, 2003 | January 25, 2003 |
Links to Rod Building Information
| Rodworks
Rod building information including guide spacing for just about any fishing rod you can build. |
Schneider
Rods
Another source for guide spacing and other information. |
| Rod
Building Home Page
Good resource for Rod Builders. Guide Spacing information. |
Rod
Building Hints and Tips
Good source for guide spacing and other rod building information. |
Measured from the tip of the rod. Below are recommended popular guide spacing. Every rod blank is different. The recommendations may be altered to suit your requirements. Spacing is measured in inches from the tip.
| Length | 1st | 2nd | 3rd | 4th | 5th | 6th | 7th | 8th | 9th | 10th | 11th | 12th | 13th |
| 7' | 4 5/8" | 10 3/4" | 17 7/8" | 25 5/8" | 34 1/8" | 43 1/4" | 54 3/8" | ||||||
| 7 1/2' | 4" | 9 1/2" | 15 3/4" | 23 1/4" | 31 3/4" | 41 1/8" | 51 3/4" | 62 7/8" | |||||
| 8' | 4 3/4" | 16 | 22 7/8" | 30 1/2" | 38 3/8" | 46 3/4" | 55 7/8" | 65 | |||||
| 8 1/2' | 4" | 9 1/2" | 16 1/4" | 23 3/4" | 31 3/4" | 40 3/8" | 49 3/8" | 59 1/2" | 70 3/4" | ||||
| 9' | 4" | 9" | 15 | 22" | 29 5/8" | 37 5/8" | 46 1/4" | 55 1/8" | 65" | 76" | |||
| 9 1/2' | 4" | 8 7/8" | 14 1/2" | 21 1/8" | 29 1/8" | 37 1/2" | 47" | 56 7/8" | 68" | 80" | |||
| 10' | 4 1/8" | 9 1/4" | 14 1/2" | 20 3/4" | 27 1/2" | 34 1/2" | 42 1/4" | 50 1/4" | 56 3/4" | 68 1/4" | 77 1/2" | 88" | |
| 10 1/2' | 4 5/8" | 10 3/8" | 16 1/4" | 22 5/8" | 29 3/8" | 36 3/8" | 43 3/4" | 51 5/8" | 59 7/8" | 69 | 78 1/4" | 88 1/4" | 98 5/8" |
It has been a while since I have posted anything about my rod building adventures. With the trout fishing season in full swing, my sons little league games, and the other hectic adventures of the world of work, I have had little time to work on my fly rod. My father-in-law made me a set of roughing forms. All they need are the roughing groove routered into them. My steel forms are almost entirely completed and ready to go. I have talked to a few master rod builders and they have advised me to get a practice culm of bamboo to whittle on before I find the real thing. I see where Goldenwitch is offering a lower grade culm along with a high quality culm. You practice on the poor culm before you tackle the good one.
I have also purchased all of the tools I am going to need to complete this rod. I bought a Stanley block plane a few months back and the base has been trued and flattened. This was accomplished during a rainy day in Southwestern Wisconsin. When I state the word "day" I am being truthful. It literally took me a day of sanding and polishing to get the base perfectly flat. I have also sharpened the plane knife. I was amazed at how sharp I got the blade. I can remove hair from the back of my arm.
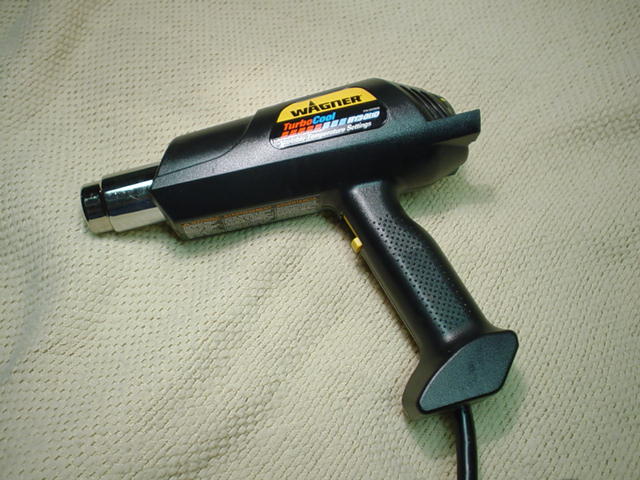
Sears had a heat gun on sale a couple of weeks back and I purchased one of those. The rod oven uses the heat gun for it's source of heat. I still have to build the oven. I am looking for a generous rod maker who would be willing to share their oven for my first rod.
I must get back to building the rod. I found that constructing the tools for building the rod was incredibly relaxing. Also, my son's birthday is coming up in May 2003 and I have to get the rod done for his birthday. He will be turning 12.
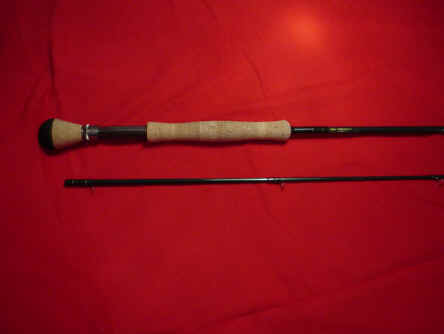
Nick and I finished wrapping the fly rod tonight. I put the bamboo rod on the back burner until the snow flies and I am in need of a winter project. I decided to build an 8 foot 4 wt for Nick's 12th birthday present. I bought the components from Stewart Fishing Company and found Brian to be very helpful. The blank is a Batson Rainshadow® and I am very impressed. A 45 million modules rod for under $50 and this included the reel seat. I found that building a rod is not as complicated as I thought it would be. I found a book that is put out by Flex Coat® that was very helpful. It took you through all of the steps from start to finish. Brian ("Leakywaders") was sure that I had everything that I needed. I was sure that this project was going to take a month or two. Two weeks later, I am finished and ready to epoxy the wraps.
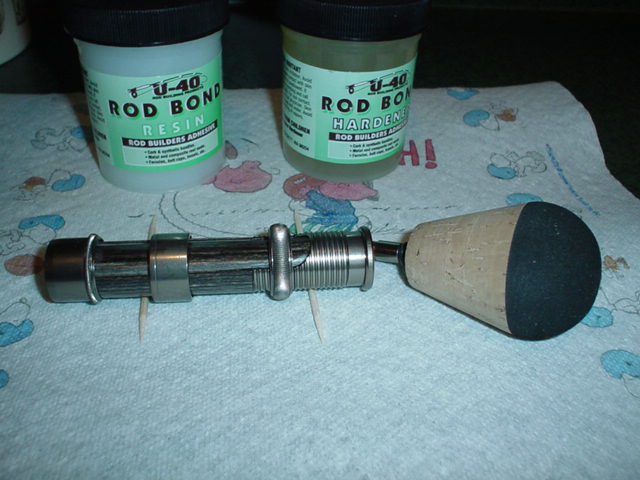
I am sure that I made a few mistakes. I still think that this will make a great birthday present for my son's 12th birthday. Only one minor mishap. While using the U40 Rod Bond® to glue up the handle and the reel seat, I left my 2 part glue unsupervised on the workbench. When I came back, the wife's cat was lying in the middle of the glue. Needless to say, fluffy was a mess. I read the directions on the bottles of glue and found that it was, of course, incredibly toxic. "Harmful or Fatal if Swallowed" I believe was the statement as I read the literature on the bottle. Meanwhile the cat began to lick the glue from his fur. Has anybody ever given a cat a bath? It was an exciting adventure. My wife and I were soaking wet and the cat was a wet little fur ball. All worked out well. The rod is almost complete and the cat is still alive, minus 1 life.
I have decided to build an 9 or 10' 8 weight. After the trip to the Brule, I have become hooked on fishing for big game. I will take a few pictures of the process while building this rod.
(Be sure to check out hyperlinked text. These are pictures and links.)
I just started on my second rod tonight. This is a Christmas present from the family. I am building a steelhead rod: A 9' 8wt Rainshadow rod. I was able to get the reel seat done tonight without any interruptions by my wife's cat. While building my son's rod, Jaspurr (Our family cat) got into my U40 Rod Bond. It was quite an ordeal as described above. I decided to put on a fighting but on this rod. After a little deliberation and some advice from another rod builder, I put on a tarpon ball. This is the first rod that I have ever had that was equipped with a fighting butt. Everything else that I have are much smaller weighted rods. Once again, I am very impressed with the quality of the Batson Rainshadow blank. I bought it from the Stewart Fishing Company and Brian was once again very helpful.
The half wells grip that I put on the my son's 4wt had already been machined to accept the hidden reel seat. This full wells grip that I put on this one had not. After looking things over, I firmly pressed the hidden ring into the back of the cork handle. This left an indentation so that I could see the cork that had to be removed. I thought about using an Exacto knife on it but tossed this idea aside for the Dremel tool. I have a couple of bits that fit the bill quite nicely to remove the bulk of the cork. After this was roughed in, I used one of the drum sanding bits to finish off my rough work. The grip looks like it came from the factory that way. I was even impressed. The finished grip prior to reaming it out to accept the blank.
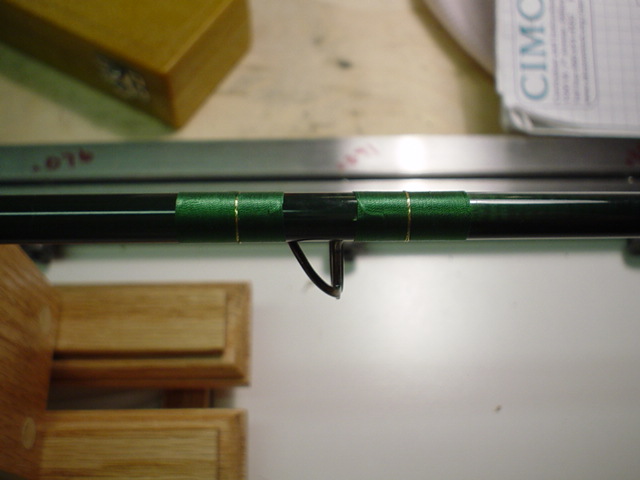
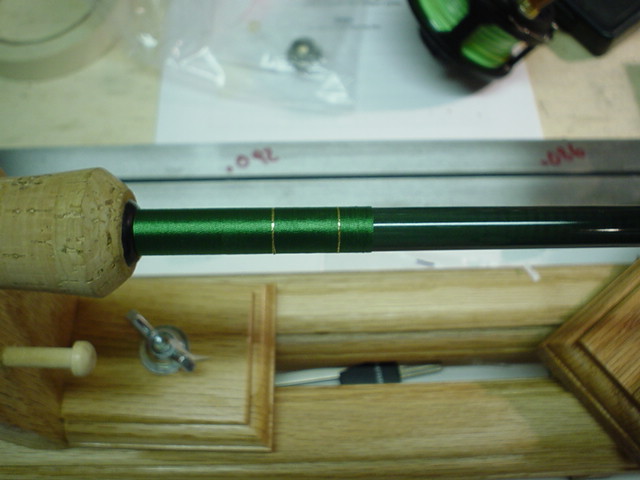
Spent a little time working on the 8wt. this weekend. It amazes me how fast the process actually is once you get the hang of it. I decided to add a little extra decoration to the winding on this rod. I put a single gold thread into the green winding. I am following the direction from a book that I have and seems to look pretty good. I did not put a hook keeper on this rod. I never seem to use one anyway so I put a little extra decoration in the winding check area. Picture of the workbench. Not much else tonight.
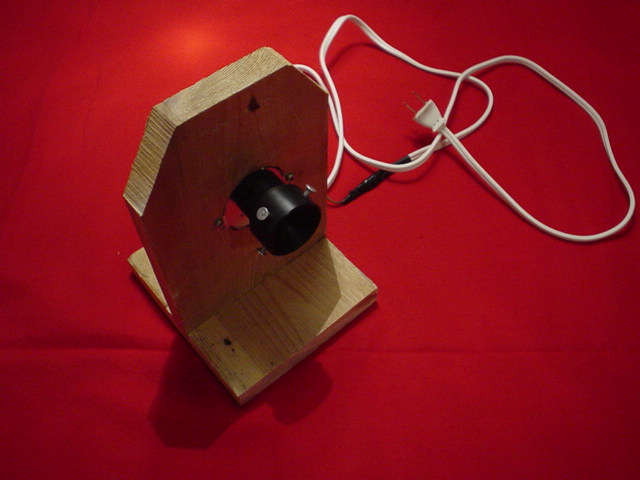
I finished the 8wt project last evening. After finding out how much fun it is to build your own fly rod, I doubt that I will ever buy another finished rod again. I can't wait to see how it fishes. I also finished putting together my rod turner/wrapper the other day. I put a picture of the name plate from the back of the motor as an informational picture. I bought the motor from a person on e-bay. The chuck was purchased from Cabela's. Below is the finished project.
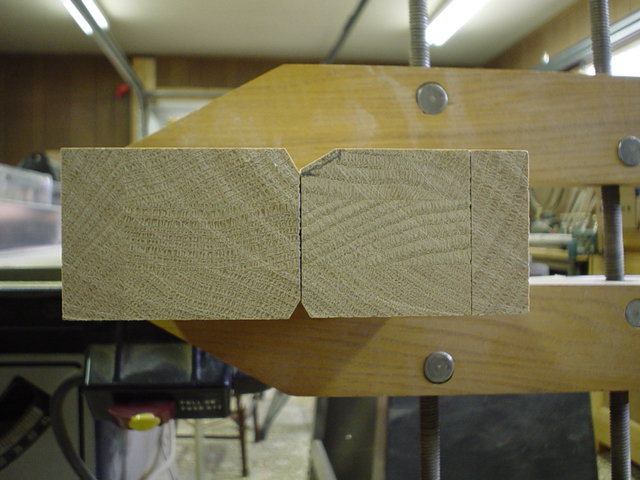
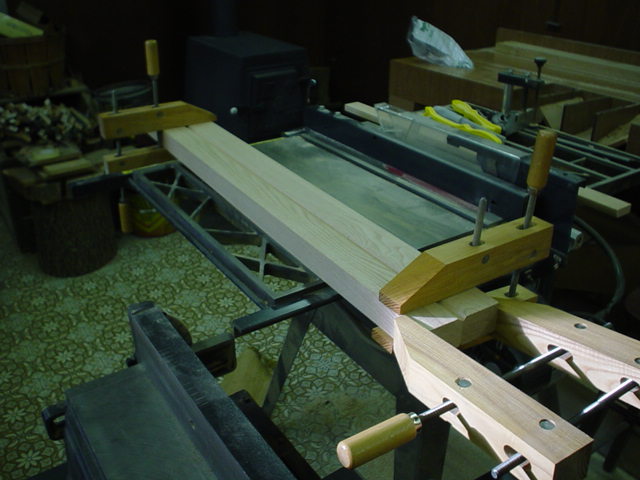
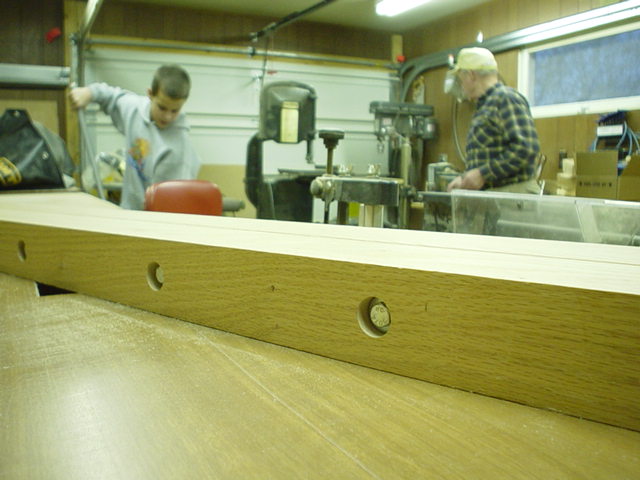
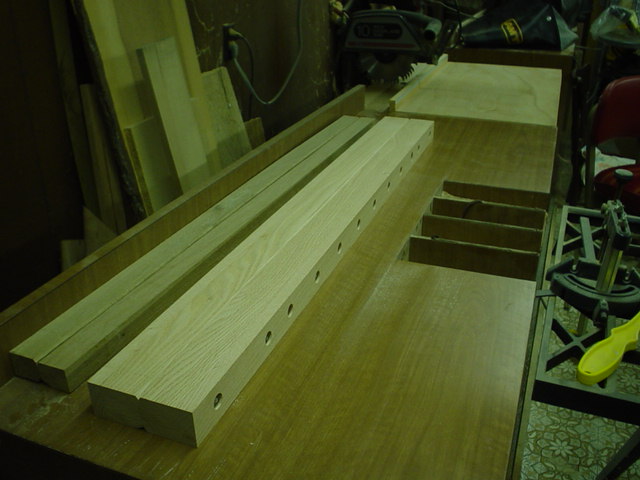
I worked on my roughing forms this weekend at my father-in-law's. We completed them so now I have no excuse not to finally get at the cane rod project. My father-in-law is an excellent craftsman who is very good working with wood. I attempted to make the roughing forms a while back using solid pieces of wood. I had a tough time with warping. He came up with the idea of using laminated wood. The result: No warps. You can see the lamination layout in the end view of the roughing forms. To keep both of the pieces of the form perfectly lined up, wooden clamps were used. Instead of using screws to hold the two parts of the forms together, holes were drilled for bolts. The finished product.
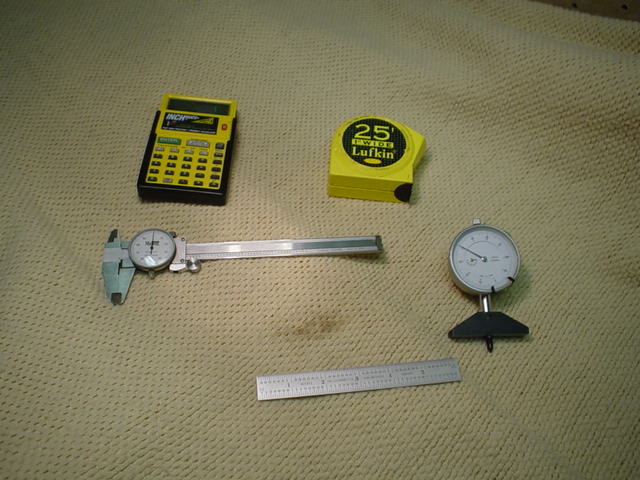
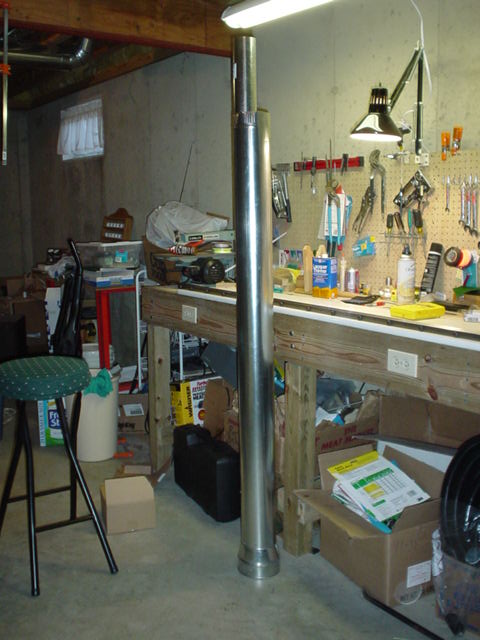
I got a special delivery on Saturday morning. My bamboo came from Golden Witch. I have purchased, built or assembled all of the tools that I need to complete the project. (Measuring the Gap, Measuring Tools, Rod Oven, and Heat Gun) The rod oven is a vertical oven from plans on the Bamboo Zone. It uses a 2 1/2" heat duct inside of a 5" heat duct. When I tested it, it seemed to work well. The heat is generated by my heat gun. I believe I have $21 invested in it and that includes the digital thermometer.
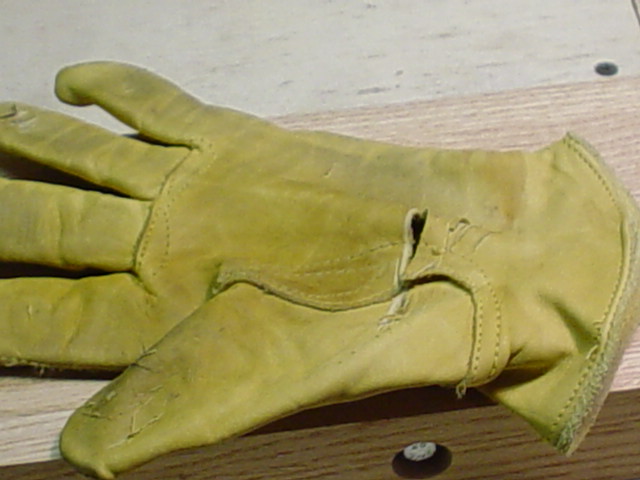
I also found out how difficult it is to split crooked bamboo cane. I received an A- culm of rod along with my 12' A+ bamboo culm. This was sent for practice. The difference between an A+ and A- culm is night and day. The A- was incredibly crooked. I did get it split down to 1/4" strips. I even gave straightening and filing the nodes a try. Not as hard as it looks but still challenging. Bamboo cane gets very sharp when it has been split. Unfortunately, I found this out after I had cut my finger. I later donned a pair of leather gloves and the cane eventually cut through them. I think that I am going to be able to complete this project. As I have heard mentioned before: "It ain't rocket science." As I move on through the project, I will be sure to post my progress.
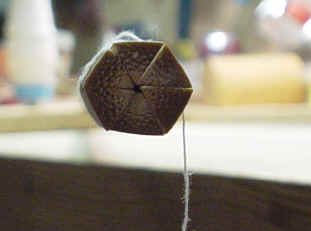
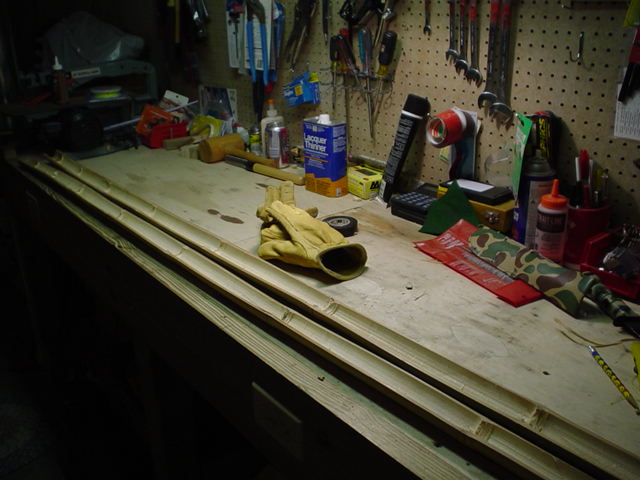
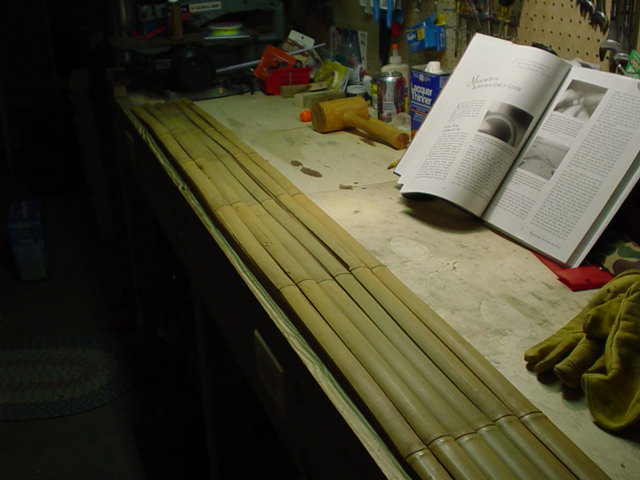
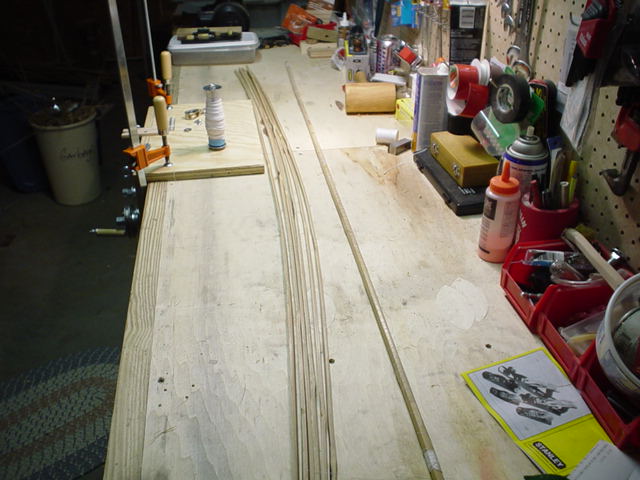
I just thought that I would share a few pictures of the progress to this point. I have finally dove in head first on this project. The culms are all split down and are ready for planing. The other night, I finished up planing down the last couple of strips. I was so happy, I wanted to put it together and see how it looked. Here is a picture of the loosely bound rod. I still have to run it through the rod binder and pull things together but at least you can see the construction principle of the bamboo rod. Before you get to this stage, the culm of cane must be split into two halves. Next, the 2 halves must be split into 6 evenly split sections of cane. This wasn't too hard and I was able to accomplish this without any major problems. Splitting each of those six 1 inch wide sections into 4 strips was a little bit more complicated. You can see the thinner strips of un-planed bamboo next to the wrapped butt section. These strips have had the nodes filed and straightened by the use of a heat gun. During the straightening stages, you really need to keep you mind on the task at hand. It is at this time that you usually burn your hands or worse yet, the bamboo.
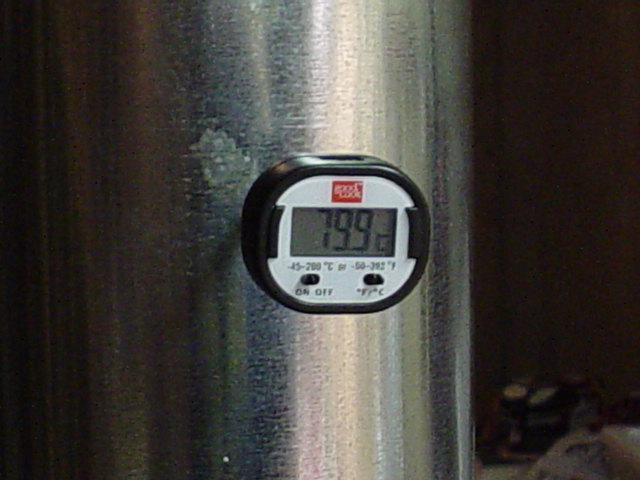
After the nodes are straightened, it is time for rough planing. Accuracy is important, but the main objective is to get each strip planed down to an equilateral triangle. When you bind the six planed strips together, you get the 6 sides to the bamboo rod. Now they are ready to go into the oven. I found a thermometer the other day at Wal-Mart that actually measures up to 200°C. According to literature I have read, the roughed sections are to be treated at 160°C for 15 to 30 minutes. I hope that I will be doing this in the near future. Until then it is time to plane out more rough strips of cane.