![]()
![]()
![]()
Rod Making Equipment
| Part I: Building Equipment |
Part I: Putting together the proper materials.
There are many ways to acquire the proper tools needed to build a bamboo rod. You can go out and purchase the equipment or you can figure out a way to make your own. Since I am a person with limited financial means, I decided to build my own. I was fortunate enough to have a father who taught me a few things about precision machining and the fact that I am a shop teacher didn't hurt either. If you intend to build your own rod, you will need the following equipment.
 |
This is my final tapering form. I made my own using the plans found on Thomas Penrose's web page. It was not the easiest thing in the world to do, but I am on my fourth rod and they seem to work quite well. I believe I spent around $50 for the materials and they took me 10-15 hours to build. If you plan on purchasing them, plan on spending anywhere from $400-$1200. |
|
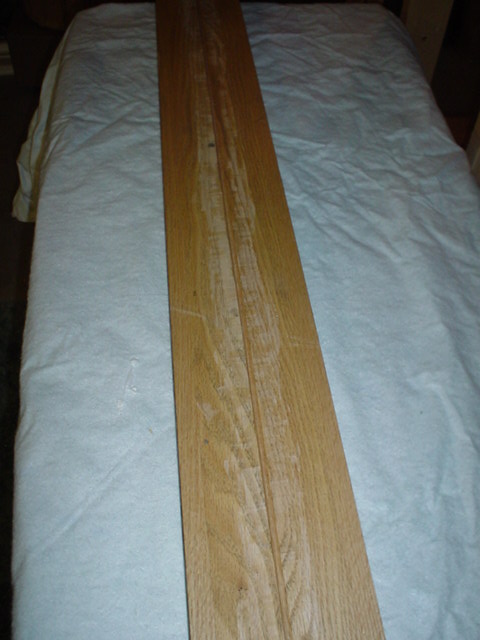
These are roughing forms. On one of the sides, I have the bevel cut for roughing and the other side is set up for the intermediate forms. The second photo shows an end view and the two different grooves. These forms don't have to be incredibly accurate since they will only initiate the equilateral triangle in the strips of cane. |
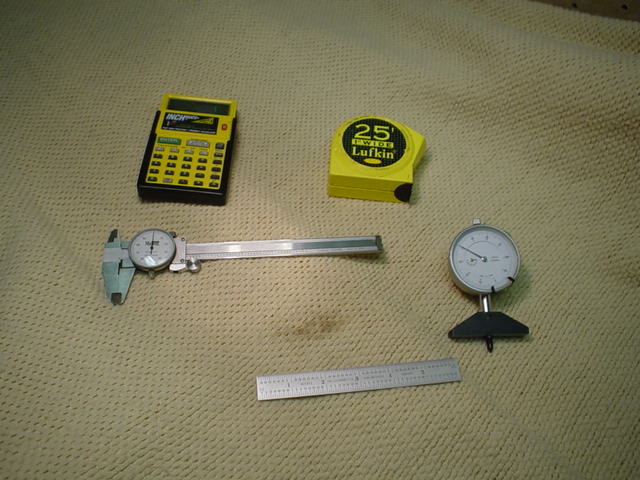 |
Measuring tools are vital in constructing a bamboo rod. From top to bottom: Calculator, tape measure, dial caliper that can measure to the nearest .0001", dial depth gauge needed to set the depth for the taper in your final planing forms, and a 6" ruler that measures in 1/8", 1/16", 1/32", and 1/64" increments. Measuring accurately is vital in completing a quality bamboo rod. If you cannot read dial equipment, you may want to spend the extra money for digital equipment. |
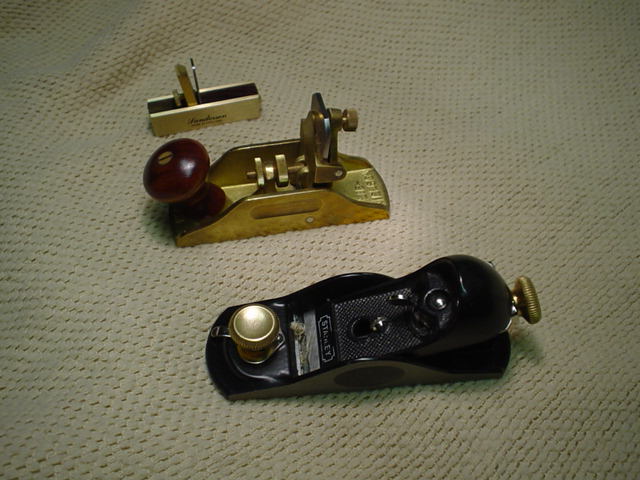 |
Planers are also needed for the project. From top to bottom: A small rosewood scraper plane, a Lie Nielsen scraper, and a Stanley 9 1/2 block plane. All planes need to be tuned and trued before you use them. This is not a difficult process but it can take some time. |
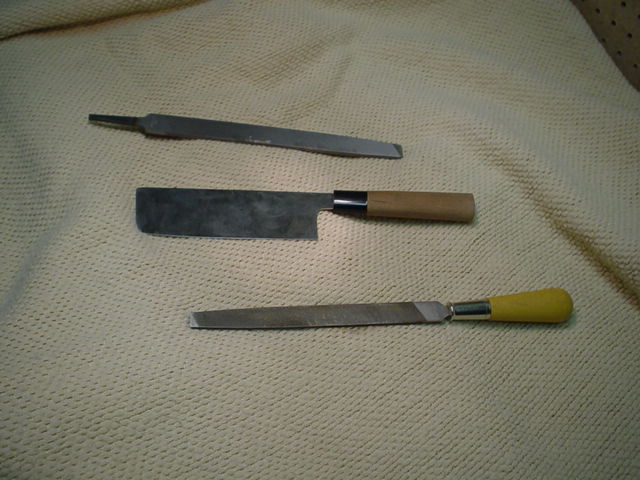 |
Splitting and filing tools are needed also. A mill bastard file will be used to file the nodes down early in the rod building process. The cleaver in the middle is respectfully referred to as "Martha". This is a Japanese cleaver from the Martha Stewart collection that I have found to be just the thing for splitting. It is small enough to be easily controlled and is dull enough not to cut your fingers to ribbons. For splitting, you may also use a hunting knife. It just needs to be stiff enough to twist to make the split. |
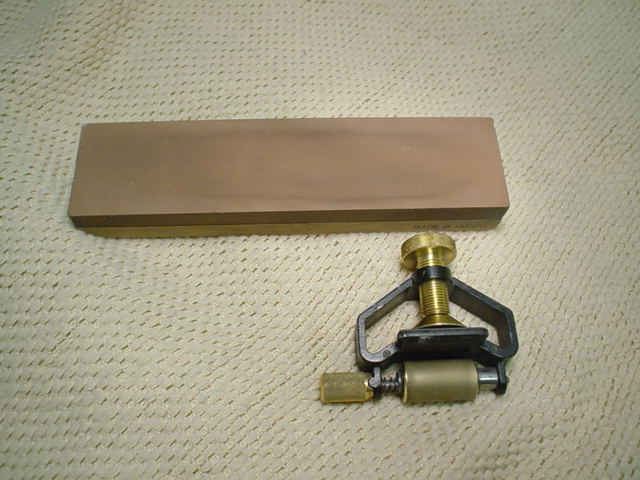 |
Sharp planing and scraping blades are essential if you want to plane a clean glue joint. I use a blade sharpening guide from Veritas and a Japanese water stone in 1000 and 6000 grit. When you finish sharpening the planing irons, they should be able to be used for shaving. |
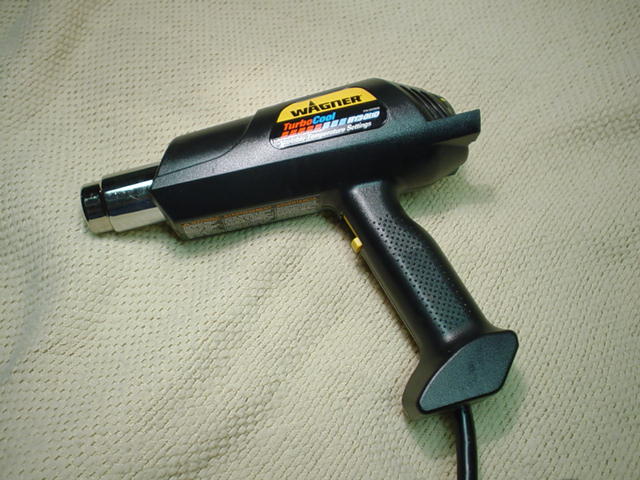 |
A variable temperature heat gun. Back in the old days, rod builders used to use alcohol lamps for straightening nodes. I am sure this will work but have found the heat gun invaluable in the rod building workshop. I use it for node straightening and as a heat supply for my oven. |
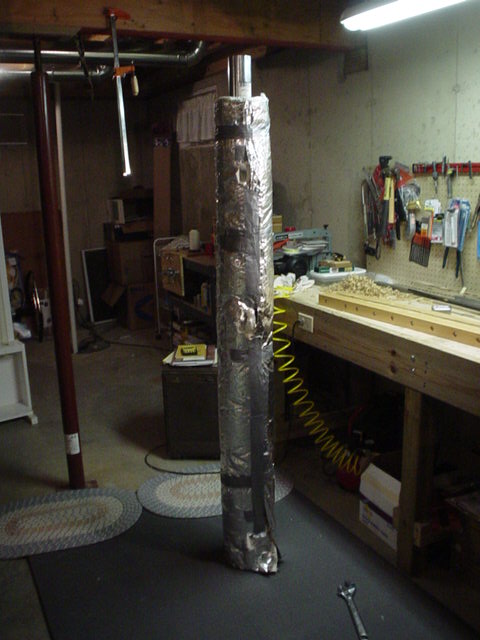 |
This is my rod oven. I found the plans for this on Frank Neunemann's web site. Very informative and it seems to work quite well. I made one change in the plans, I wrapped the oven with fiberglass insulation. This seemed to improve the ease of maintaining a constant temperature. |

|
My version of the "Garrison Binder". I have used this one quite a bit and it has performed flawlessly. I am sure this is crude by many builders' standards, but it has worked quite well for me. All parts came from the local Menards. |
|
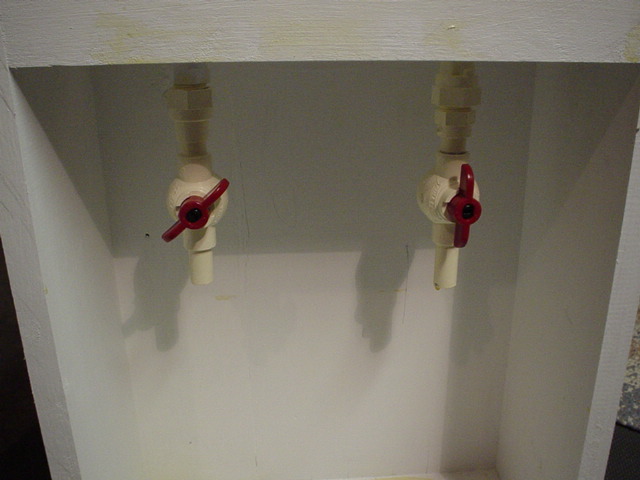
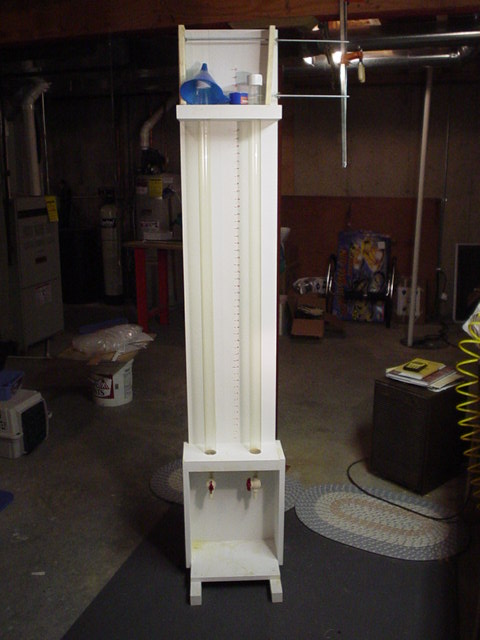
Here is a picture of my drip tube for finishing
the cane rod. I fill the tubes up with spar varnish, submerge the
finished fly rod sections, and then open the valves at the bottom to let
the varnish drip away from the sections. I then allow the rod
sections to remain in the empty tubes for a few days until the finish has
set up. This provides a virtually dust free environment.
Most rod builder will use a dip tube. When using the dip tube, the rods are slowly extracted from a tube of varnish. This is probably the preferred method. Both the drip and dip tube will leave behind a very nice finish. On my first rod, I used a foam brush. I would not suggest this because of the air bubbles left behind. I have also heard of other rod builders who spray on the finish. The rods I have seen using this method are also superb. |